Seed Starting: The Complete Beginner-to-Pro Guide for Growing Strong, Healthy Plants
Seed starting is one of the most rewarding skills a gardener can learn. Not only does it save money, but it also gives you complete control over what you grow, when you grow it, and how healthy your plants are from day one. Whether you’re starting vegetables, herbs, or flowers, mastering seed starting can dramatically improve your gardening success.
In this comprehensive guide, we’ll cover everything you need to know about seed starting, from choosing the right seeds and supplies to avoiding common mistakes and transplanting your seedlings outdoors. By the end, you’ll feel confident starting seeds like a pro—even if you’ve never done it before.
What Is Seed Starting?
Seed starting is the process of germinating seeds indoors (or in a controlled environment) before transplanting them into your garden, containers, or raised beds. Instead of waiting for outdoor conditions to be perfect, seed starting allows you to:
Extend your growing season
Grow plants that aren’t available as nursery starts
Save money on plants
Ensure healthier, stronger seedlings
Seed starting is especially useful in regions with short growing seasons or unpredictable spring weather.
Why Seed Starting Is Worth the Effort
Many gardeners hesitate to start seeds because it sounds complicated—but once you understand the basics, it’s surprisingly simple.
Benefits of Seed Starting
Cost-effective: One packet of seeds can produce dozens of plants
More variety: Access to heirloom, organic, and rare plant varieties
Healthier plants: Less transplant shock and stronger root systems
Earlier harvests: Get a head start on the season
Total control: Choose soil, lighting, and care from day one
If you love gardening, seed starting quickly becomes addictive—in the best way.
Essential Seed Starting Supplies
You don’t need expensive equipment to get started, but having the right supplies makes seed starting easier and more successful.
Seed Starting Containers
You can use:
Seed trays with cells
Small pots or nursery containers
Biodegradable pots
Recycled containers (with drainage holes)
The most important factor is proper drainage. Seeds hate soggy soil.
Seed Starting Soil (Not Garden Soil!)
Always use a seed starting mix, not regular garden soil or potting soil.
Seed starting mix is:
Lightweight
Well-draining
Free of pests and diseases
This gives delicate seedlings the best chance to develop strong roots.
Grow Lights or Bright Light Source
Light is one of the most critical elements in seed starting.
South-facing windows often aren’t enough
Grow lights prevent leggy, weak seedlings
Lights should be 2–3 inches above seedlings
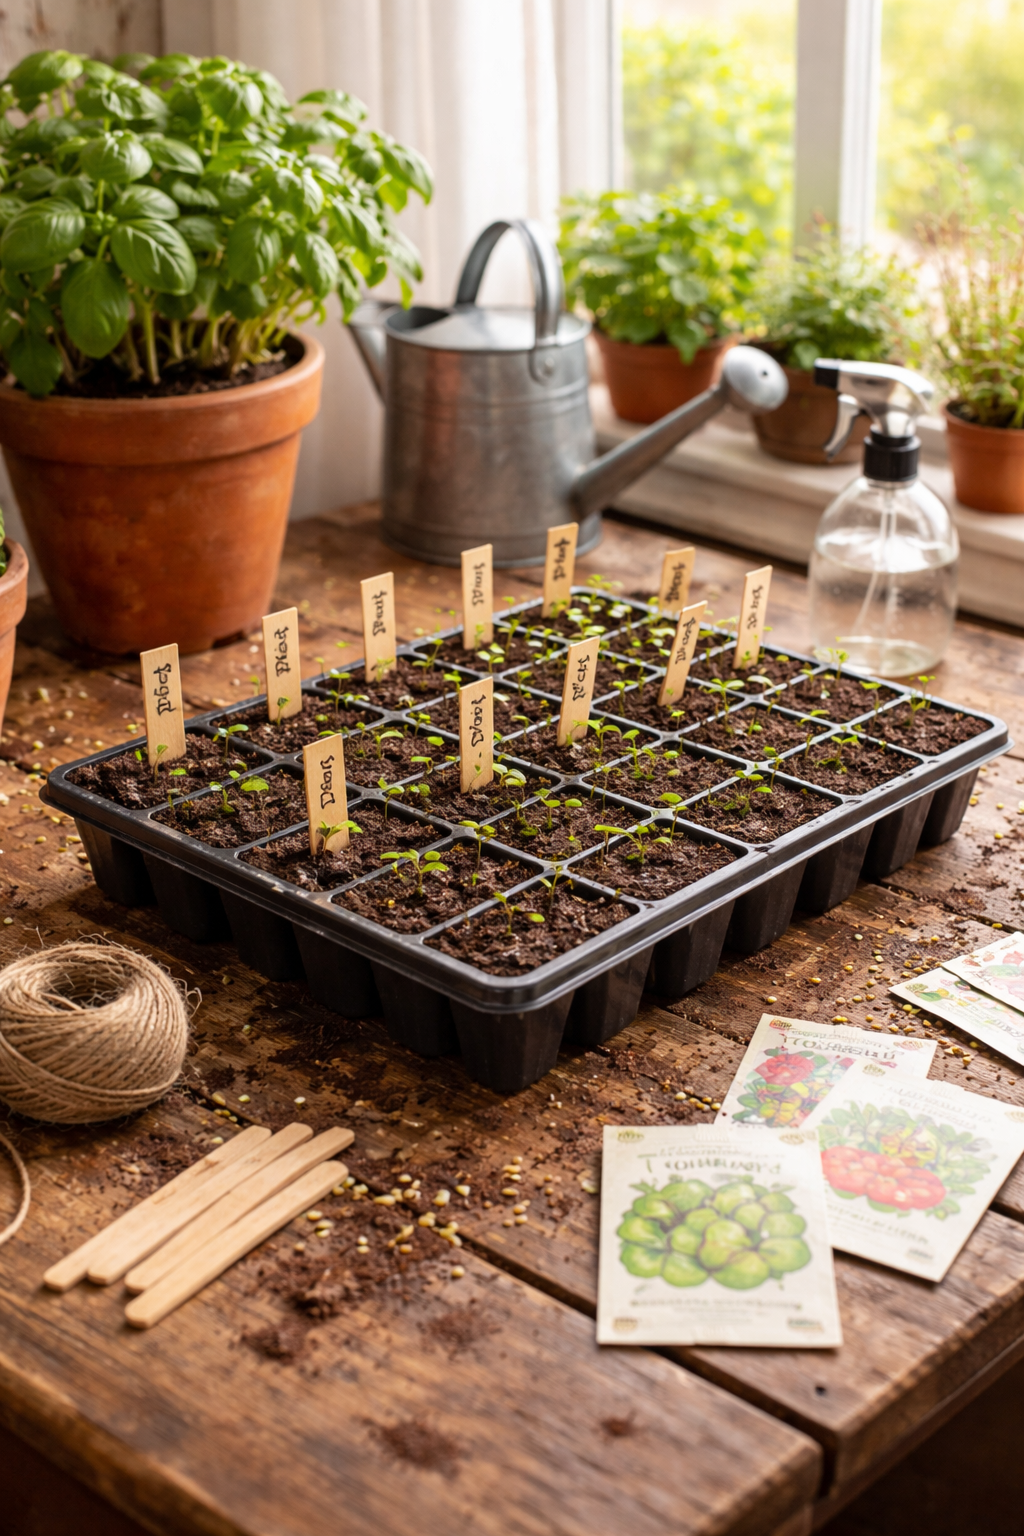
Labels (You’ll Thank Yourself Later)
Seedlings often look identical at first. Always label:
Plant name
Variety
Planting date
Trust us—memory fades fast once everything starts sprouting.
How to Start Seeds Step by Step
Let’s break seed starting into simple, repeatable steps.
Step 1: Read the Seed Packet
Seed packets are full of valuable information, including:
When to start seeds indoors
How deep to plant
Germination time
Light requirements
This determines when and how you should start each seed.
Step 2: Fill Containers With Seed Starting Mix
Lightly moisten the soil before planting
Fill containers without packing the soil too tightly
Level the surface gently
Seed starting soil should feel damp, not dripping wet.
Step 3: Plant Seeds at the Correct Depth
A common rule of thumb:
Plant seeds twice as deep as their size
Very tiny seeds are often pressed into the surface instead of buried
Planting too deep is one of the biggest seed starting mistakes.
Step 4: Water Gently
Use:
A spray bottle
Bottom watering (placing trays in shallow water)
Avoid pouring water directly onto seeds—it can displace them or compact the soil.
Step 5: Provide Warmth for Germination
Most seeds germinate best at 65–75°F.
Options include:
Warm room
Seedling heat mats
Top of a refrigerator
How Long Does Seed Starting Take?
Germination times vary by plant:
Lettuce: 2–7 days
Tomatoes: 5–10 days
Peppers: 10–21 days
Herbs: 7–21 days
Be patient. Some seeds take longer, especially in cooler conditions.
Seedling Care After Germination
Once seeds sprout, your job isn’t over—it’s just beginning.
Light Is Everything
As soon as seedlings emerge:
Move them under bright light immediately
Keep grow lights close to prevent stretching
Leggy seedlings are weak and prone to falling over.
Water Consistently (But Don’t Overdo It)
Seedlings prefer:
Even moisture
Soil that dries slightly between watering
Overwatering can cause damping off, a fungal disease that kills seedlings quickly.
Provide Air Circulation
A small fan:
Strengthens stems
Reduces mold and disease
Mimics natural outdoor conditions
Gentle airflow makes a huge difference in seed starting success.
Common Seed Starting Mistakes (And How to Avoid Them)
Even experienced gardeners make mistakes. Here are the most common seed starting errors and how to prevent them.
Mistake #1: Starting Too Early
Starting seeds too early leads to:
Root-bound plants
Weak growth
Stress before transplanting
Always count backward from your last frost date.
Mistake #2: Too Little Light
Insufficient light causes:
Tall, floppy seedlings
Poor root development
When in doubt, add more light.
Mistake #3: Overwatering
Soggy soil:
Suffocates roots
Encourages fungal diseases
Water less often, but thoroughly.
Mistake #4: Skipping Hardening Off
Seedlings grown indoors must adjust gradually to outdoor conditions.
Hardening Off Seedlings
Hardening off is the process of slowly introducing seedlings to the outdoors.
How to Harden Off Properly
Start 7–10 days before transplanting
Place seedlings outside for 1–2 hours the first day
Gradually increase time and sun exposure
Bring them inside at night initially
Skipping this step can shock or kill plants.
When to Transplant Seedlings Outdoors
Seedlings are ready to transplant when:
They have at least 2–4 true leaves
Outdoor temperatures are stable
Soil is workable and warm
Check each plant’s specific requirements for best results.
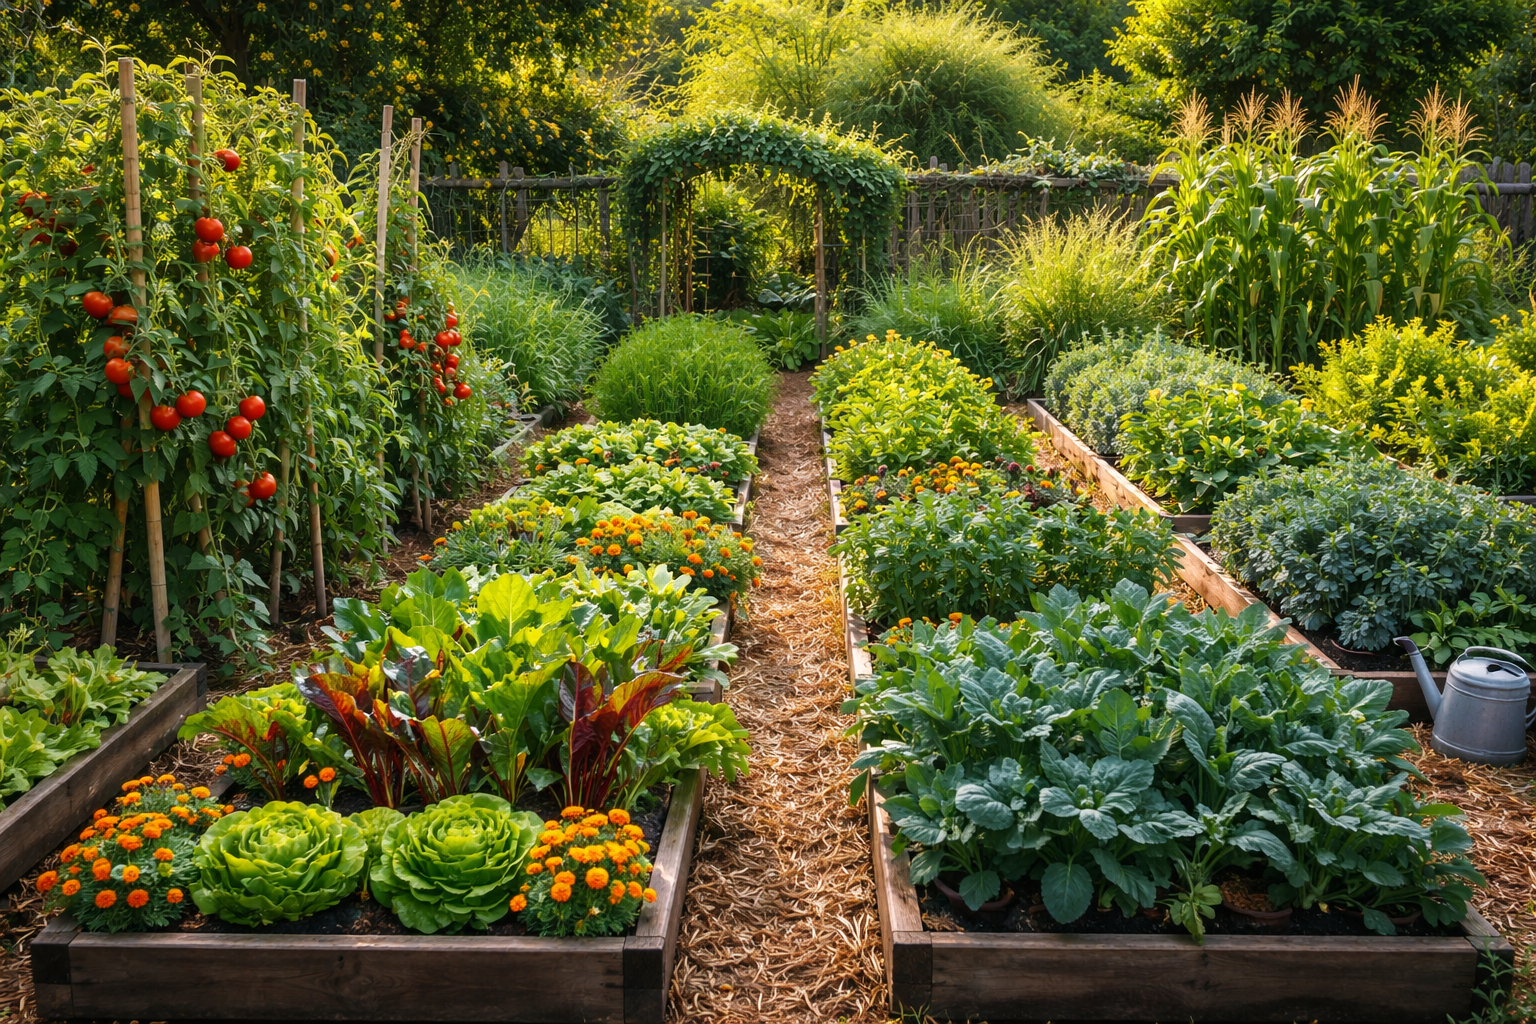
Best Plants for Seed Starting
Some plants thrive when started from seed, while others prefer direct sowing.
Great Plants for Seed Starting Indoors
Tomatoes
Peppers
Eggplant
Broccoli
Cabbage
Flowers like zinnias and marigolds
Better Direct-Sown Outdoors
Carrots
Radishes
Beans
Corn
Knowing the difference saves time and frustration.
Seed Starting Tips for Success
Start small your first season
Keep a seed starting journal
Experiment with varieties
Don’t panic if a few seeds fail
Seed starting is a skill that improves every year.
Final Thoughts: Why Seed Starting Is a Game Changer
Seed starting transforms gardening from a seasonal hobby into a year-round passion. There’s something incredibly satisfying about watching tiny seeds turn into thriving plants you grew yourself—from the very beginning.
With the right supplies, patience, and a little practice, seed starting becomes second nature. Whether you’re growing food for your family or flowers for joy, learning how to start seeds opens up endless possibilities in the garden.
If you’ve ever thought about trying seed starting, there’s no better time than now. 🌱