Garlic Aioli Recipe (Easy, Creamy & Better Than Restaurant Style)
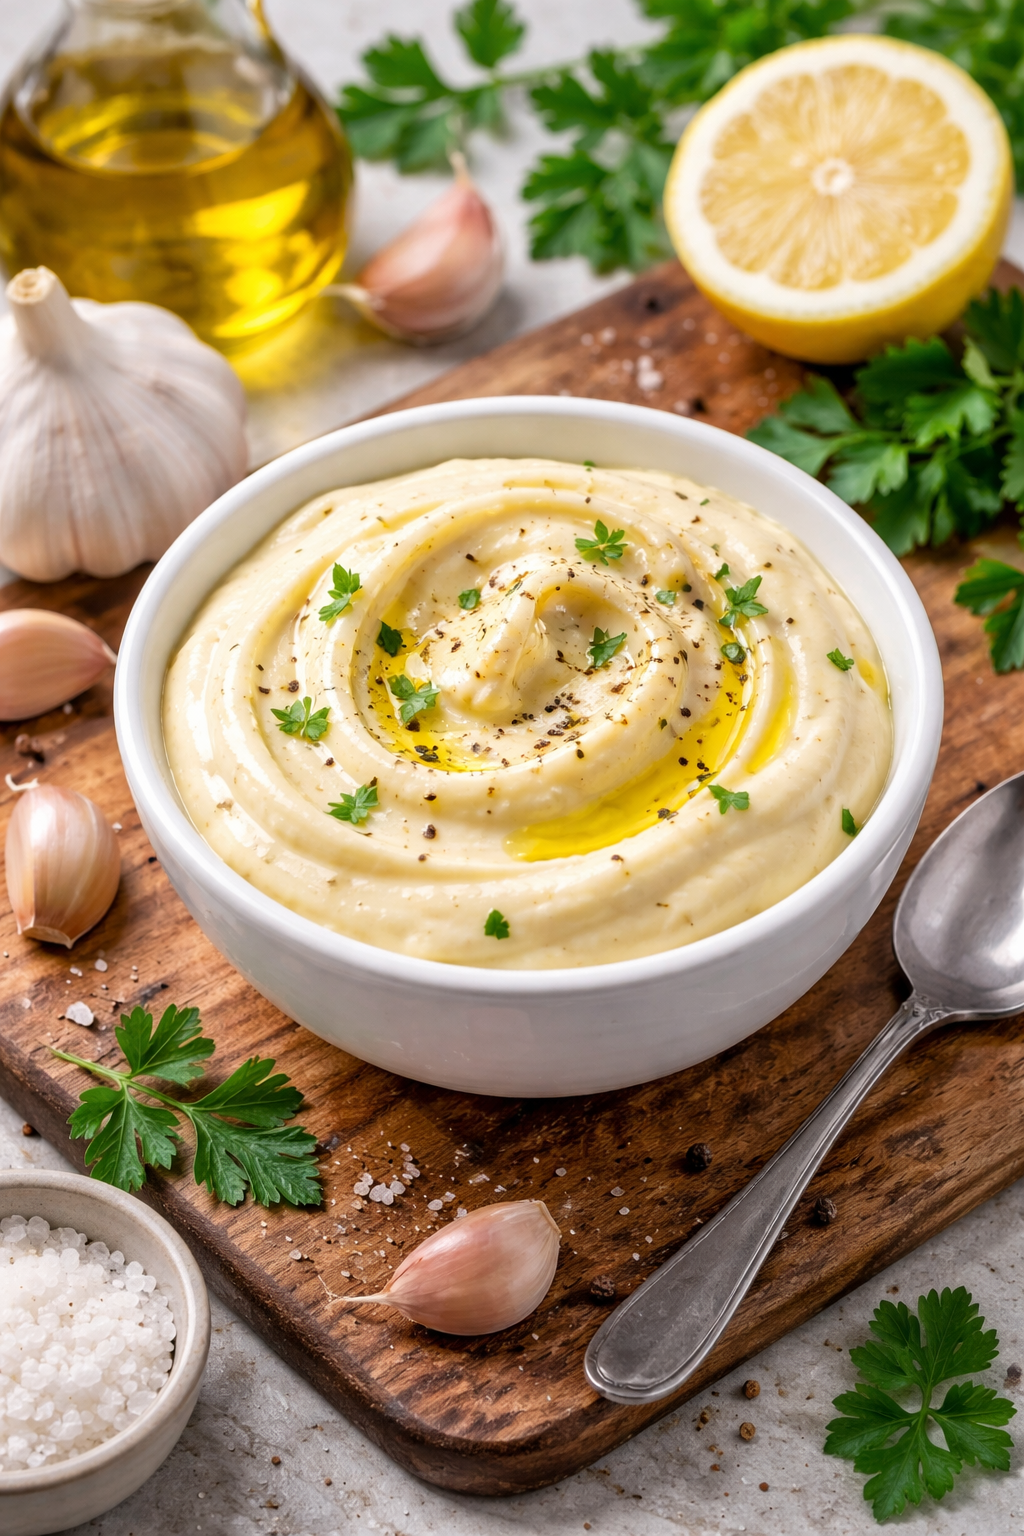
If you’ve ever dipped fries into a silky, garlicky sauce at a restaurant and thought, I need this in my life at home, you’re in the right place. This garlic aioli recipe is creamy, rich, and packed with bold garlic flavor — yet surprisingly easy to make with simple ingredients you probably already have.
Whether you’re serving it with crispy fries, spreading it on sandwiches, drizzling it over roasted vegetables, or using it as a dip for seafood, homemade garlic aioli instantly upgrades almost any dish. Best of all? You don’t need fancy equipment or chef-level skills to make it from scratch.
In this post, you’ll learn exactly how to make classic garlic aioli, plus foolproof shortcuts, flavor variations, storage tips, and delicious ways to use it. Let’s get into it.
What Is Garlic Aioli?
Traditional aioli is a Mediterranean sauce made from garlic and olive oil, emulsified into a thick, creamy consistency. The word aioli comes from the Provençal words ai (garlic) and oli (oil). Historically, it didn’t even include eggs — just garlic, oil, and a whole lot of arm strength.
Modern garlic aioli recipes, especially in the U.S., usually include egg yolks or mayonnaise to make the process easier and more stable. The result is a sauce that’s similar to garlic mayonnaise, but with a richer flavor and smoother texture.
This recipe gives you that restaurant-quality garlic aioli taste without the intimidation factor.
Why You’ll Love This Garlic Aioli Recipe
Quick and easy — ready in under 10 minutes
Rich, creamy texture with bold garlic flavor
Versatile for dipping, spreading, or drizzling
Customizable with lemon, herbs, or spice
Better than store-bought (and no preservatives)
If you’ve been searching for the best garlic aioli recipe, this one checks all the boxes.
Ingredients for Garlic Aioli
Before you start, gather these simple ingredients:
Basic Garlic Aioli Ingredients
1 cup mayonnaise (full-fat recommended)
2–4 cloves garlic, finely minced or grated
1–2 tablespoons fresh lemon juice
2 tablespoons olive oil
Salt, to taste
Black pepper, to taste
Optional Add-Ins
Dijon mustard (½ teaspoon for depth)
Roasted garlic (for a sweeter, milder flavor)
Smoked paprika or cayenne (for heat)
Fresh herbs like parsley or chives
Using high-quality mayonnaise and fresh garlic makes a huge difference in the final flavor of your garlic aioli.
4
How to Make Garlic Aioli (Step-by-Step)
This easy garlic aioli recipe uses mayonnaise as a base, making it practically foolproof.
Step 1: Prepare the Garlic
Finely mince or grate your garlic cloves. The finer the garlic, the smoother your aioli will be. If you prefer a milder garlic flavor, use roasted garlic instead of raw.
Step 2: Mix the Base
In a medium bowl, combine the mayonnaise, garlic, lemon juice, and olive oil. Stir until fully incorporated.
Step 3: Season to Taste
Add salt and black pepper, then taste. Adjust lemon juice, garlic, or salt as needed.
Step 4: Chill (Optional but Recommended)
Cover and refrigerate for at least 30 minutes to allow the flavors to meld. This step takes your garlic aioli from good to incredible.
That’s it! Your homemade garlic aioli is ready to serve.
Traditional Garlic Aioli vs. Mayo-Based Aioli
If you’re wondering whether this is “authentic,” here’s the difference:
Traditional Garlic Aioli
Made with garlic and olive oil only
No eggs or mayonnaise
Requires slow emulsification
Stronger garlic flavor
Modern Garlic Aioli Recipe
Uses mayonnaise or egg yolks
Easier and more stable
Creamy and mild
Perfect for everyday cooking
Both are delicious, but for home cooks, the mayo-based version is faster and more reliable.
Roasted Garlic Aioli (Milder & Sweeter)
If raw garlic feels too sharp, roasted garlic aioli is a game-changer.
How to Roast Garlic
Preheat oven to 400°F
Slice the top off a garlic head
Drizzle with olive oil and wrap in foil
Roast for 35–40 minutes until soft
Mash the roasted cloves and use them in place of raw garlic. The result is a sweet, nutty, ultra-smooth garlic aioli.
Garlic Aioli Variations You’ll Love
One of the best things about this garlic aioli recipe is how customizable it is.
Lemon Garlic Aioli
Add extra lemon zest and juice for a bright, citrusy kick.
Spicy Garlic Aioli
Mix in sriracha, chili paste, or cayenne pepper.
Herb Garlic Aioli
Fold in chopped parsley, basil, or dill.
Parmesan Garlic Aioli
Add finely grated Parmesan for a rich, savory twist.
Vegan Garlic Aioli
Use vegan mayonnaise and follow the same steps.
Each variation works beautifully as a dip, sauce, or spread.
What to Serve with Garlic Aioli
Garlic aioli pairs with almost everything. Here are some popular ways to use it:
Dipping Ideas
French fries or sweet potato fries
Onion rings
Roasted vegetables
Chicken tenders
Shrimp or calamari
Spreading Ideas
Burgers and sliders
Sandwiches and wraps
Paninis
Toasted sourdough
Drizzling Ideas
Grilled vegetables
Roasted potatoes
Fish tacos
Grain bowls
Once you start using garlic aioli, plain mayo just won’t cut it anymore.
Tips for the Best Garlic Aioli
Use fresh garlic for the best flavor
Grate garlic instead of chopping for smooth texture
Start with less garlic, then add more to taste
Let it rest in the fridge before serving
Use full-fat mayo for the creamiest result
If your aioli tastes too sharp, let it chill longer — the garlic mellows over time.
How Long Does Garlic Aioli Last?
Homemade garlic aioli will keep in the refrigerator for 5–7 days when stored in an airtight container.
Storage Tips
Always use a clean spoon
Keep tightly sealed
Refrigerate promptly
Discard if smell or texture changes
Because this garlic aioli recipe uses mayonnaise, it’s not shelf-stable and should never be left out at room temperature for extended periods.
Can You Freeze Garlic Aioli?
Freezing is not recommended. Mayonnaise-based sauces tend to separate when thawed, resulting in a grainy texture. Garlic aioli is best enjoyed fresh.
Garlic Aioli Recipe (Printable)
Ingredients
1 cup mayonnaise
2–4 cloves garlic, finely minced
1–2 tablespoons lemon juice
2 tablespoons olive oil
Salt and pepper, to taste
Instructions
In a bowl, combine mayonnaise, garlic, lemon juice, and olive oil.
Stir until smooth and creamy.
Season with salt and pepper.
Refrigerate for 30 minutes before serving.
Frequently Asked Questions
Is garlic aioli the same as garlic mayo?
They’re very similar. Garlic aioli traditionally uses olive oil, while garlic mayo uses mayonnaise as a base. Modern garlic aioli recipes often blend the two.
Can I make garlic aioli without mayonnaise?
Yes! Traditional aioli uses garlic and olive oil only, but it requires careful emulsification.
Why does my aioli taste bitter?
Over-processed garlic or low-quality olive oil can cause bitterness. Try roasted garlic or a lighter olive oil.
Can I make this ahead of time?
Absolutely. Garlic aioli tastes even better after resting in the fridge.
Final Thoughts: The Best Garlic Aioli Recipe for Any Occasion
This garlic aioli recipe is creamy, flavorful, and endlessly versatile — the kind of sauce that instantly elevates everyday meals. Whether you’re hosting guests, meal-prepping for the week, or just craving something indulgent, homemade garlic aioli is always a good idea.
Once you try it, you’ll find yourself making it again and again — and putting it on everything.